

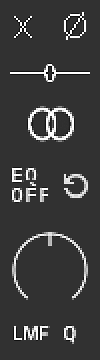
 Click and drag the slider to adjust amount of effect applied. For finer increment adjustments, hold down SHIFT while dragging the slider. Holding CTRL whilst clicking on any of the instrument parameters will move the control back to its default position
  Sample-start slider controls where playback begins when the sample is triggered.
![]() The settings-view gives you control over advanced parametres and calibrations.
The settings-view gives you control over advanced parametres and calibrations.
 The velocity curves allows dynamics to be biased towards louder or softer sounds, and to adjust instrument to your keyboard sensitivity and playing style.
 Articulation switching by Key Switch (KS). Set ROOT note for Key switching row.
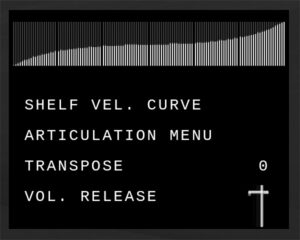
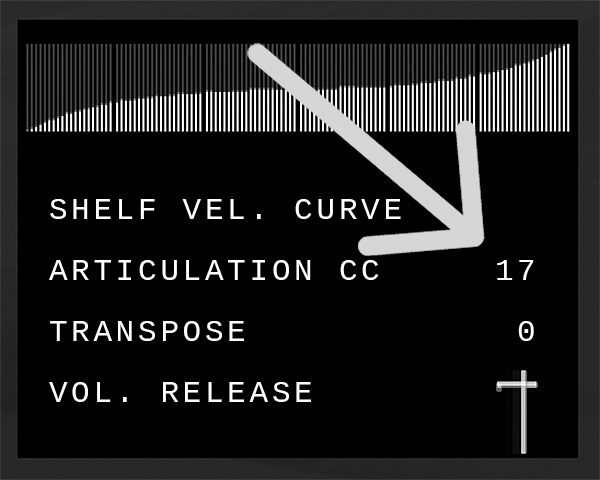 Articulation switching by MIDI CC. Choose CC number to control swapping of articulation
 All instruments, except drums, have a transpose section located in the “settings view” of the interface. The transpose feature enables you to shift the playable range of the entire patch without affecting non-playable keys and keyswitches. You can go up or down 24 semitones and the instruments keyboard graphics is updated to show the new range.
Some of our instruments have an extra trim-slider, where you may fine-tune the volume of the release-samples further. Drag this slider to zero, to purge the release-samples.
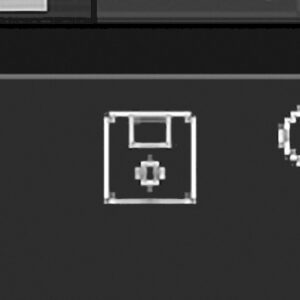 From the dropdown menu behind the floppy-disk, in settings view you can store all settings, and import them to a different Wrongtools instrument. Practical if you want to share your mixer or effects settings between different patches.
In the load / save dropdown-menu, there is a “reset” function. This sets all controls back a default state. Please save a backup before trying
In the load / save menu, you may extend the keyrange. Click on “Extend keyrange“. To go back, click “default keyrange” from the same dropdown menu.
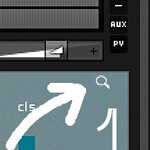 Then click on Exclamation mark “!” and voilá!
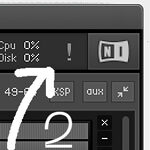

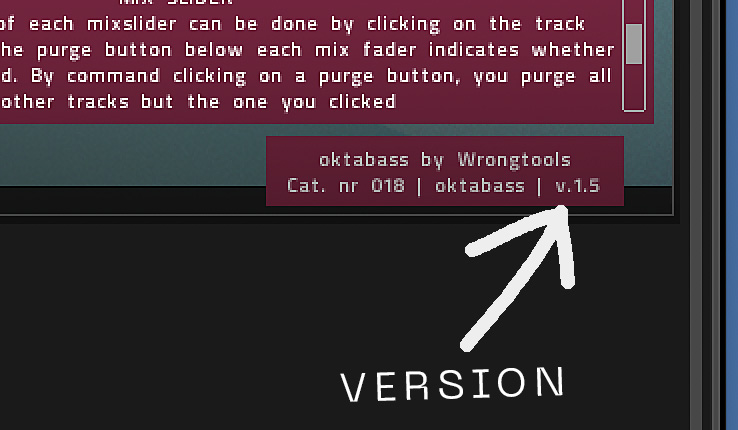 To see what version your instrument is, click on the BOOK icon (bottom left). You’ll see the version number at the bottom right.
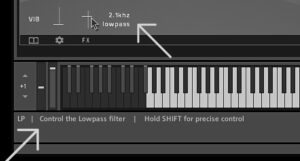 If there’s a control parameter you don’t understand, hover your mouse over it and help text appears at the left bottom of the Kontakt window. You’ll have to have the Kontakt infopanel activated for this to display. Controls will also have text that appears nearby when it is moved.